 View larger
THE/PAVEST19 - Kit wood flooring for outdoor
LO/PAVEST19
New product
Acquistando questo prodotto puoi ricevere fino a 36 punti . Il totale del tuo carrello è 36 punti può essere convertito in un voucher di: 0,36 € .
Our services


- Remove this product from my favorite's list.
- Add this product to my list of favorites.
More info
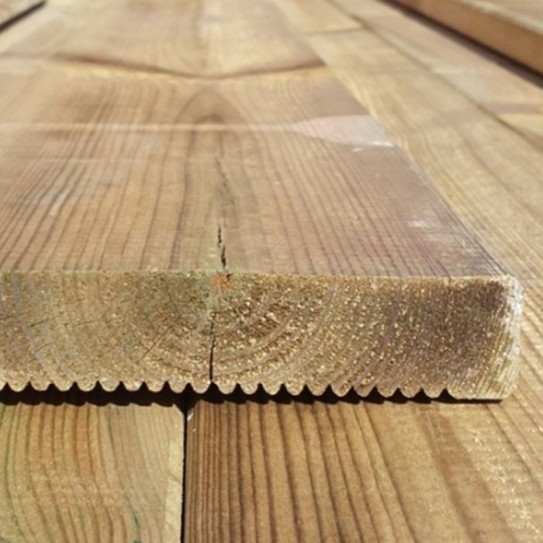
Kit for external paving in pine impregnated to class 4 Certificate "Komo".
Ideal for creating external paving for gardens, terraces, pergolas, paths, etc..
Our planks of pine impregnated in autoclave (class 4), are planed on all four sides, with rounded edges and are used mainly for the construction of facilities for external.
The wood is a natural material that, when exposed to atmospheric agents, is subject to a high stress in the thermo-hygro. The alternation of the daily cycles (“day-night”), seasonal (“summer - winter”) and the weather (“rain - sun”), subjects the wood to a continuous attempt to balance the moisture content in function of the environment of the installation.
Because of the exposure to the solar rays and to atmospheric agents, wood plank flooring will undergo a natural decay color, the color of the plates at the time of installation, you modify slopes towards a tone of Ash Grey and it will be possible to the appearance of micro-cracks and cracks in the surface.
In order to mitigate these phenomena, it is advisable to treat periodically the floor with the appropriate maintenance products.
How to lay the floor:
Step 1. The laying of the strips of material. Lay the strips on a suitable substrate concrete, at a maximum centre distance of cm. 40. In the event that the flooring should be laid against the walls, leaving a minimum distance of cm. 1.5 km from the strip to the wall.
Step 2. Fixing the strips. The fixing of battens to the substrate is not required as the rafters with the subsequent fastening of the plates of the pavement will form a single solid structure. In case you want to attach the strips to provide a fixing a maximum centre distance of 50 cm.
Step 3. Laying strips of continuity. At the intersection of two laths it is necessary to add a strip of about 40 cm. to give continuity to the structure.
Step 4. Laying strips for extra support. In the event that the planks of the floor does not end in correspondence of the strips of support, to ensure the fixing of the head of the tables, it is necessary to add in the proximity of the same to a support strip. Or two strips in the case of the interruption of the table is central to the rafters.
Step 5. The laying of the flooring. Screw from the top of the planks of the flooring to the battens support. There should be two screws in each head of the table and in the intersections of central plates to the underlying strips.

